Many homeowners think that installing a smart thermostat is like high-tech technical work. If you are one of them, let us tell you that in reality, it is not. Setting up a Google Nest thermostat is much easier than it seems and sounds like.
Whether you are replacing an old thermostat or upgrading your home with a new one. Read this blog till the end if you want to know how to hook up the Nest thermostat, including the requirements, steps, and challenges you might face.
Before you start the installation process, ensure that you have a compatible HVAC system, a stable Wi-Fi connection, and a smartphone with the Google Home app installed in it. However, it is also recommended to check up on your current wiring before removing your old thermostat.
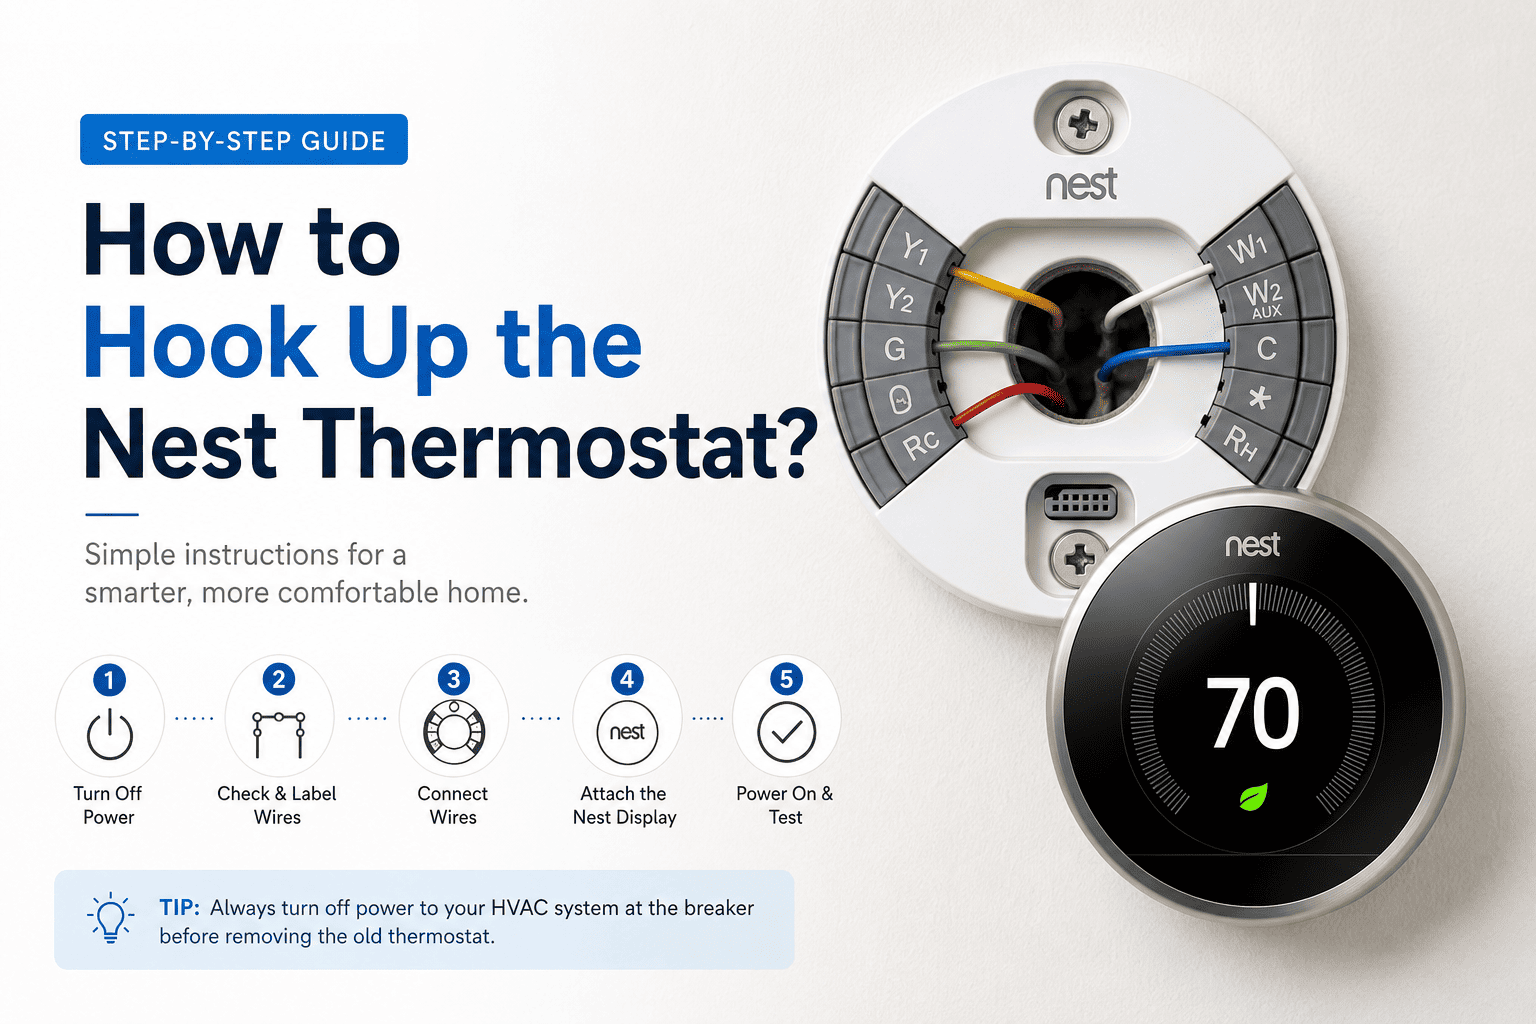
The following are the steps you need to follow in order to hook up the nest thermostat correctly:
Step 1: Remove the old thermostat
The very first step is to turn off the power to your HVAC system before touching any wires to prevent electrical issues. After that, carefully remove the old base plate or thermostat cover.
Step 2: Label and remove old wires
Most of the thermostat wires are labelled with letters like R, Y, C, W, etc. Use the label to keep track of every wire. Once the wires are labelled, disconnect them carefully.
Step 3: Install the Nest Base
Place the new Nest base plate and secure it with screws, while ensuring that the wires are pulled through the centre opening.
Step 4: Connect wires and attach the display
Connect all the wires to their connectors on the Nest base. After they are connected, the thermostat will detect them itself. After that, attach and push the display gently until you hear a click sound.
Step 5: Connect through the Google Home app
Turn the power back on, and your Google Nest thermostat should light up and begin the setup process automatically. Open the Google Home app on your phone and add your new thermostat, and follow the instructions shown on the screen to set up your new Google Nest thermostat.
The following are some common challenges that you might face while or after installing a Nest thermostat:
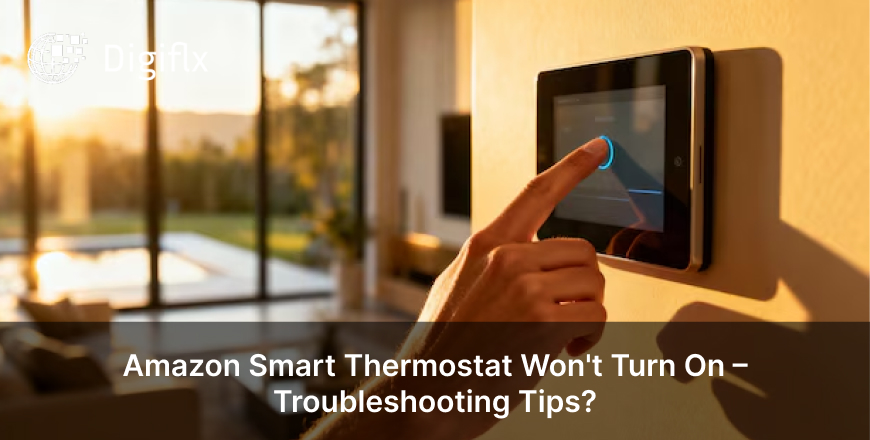
1. The Thermostat not turning on
Some homeowners usually face this issue because of loose wiring, a missing C wire, or the power not being restored properly.
2. Heating or Cooling not working properly
If you face this issue, it is advised to check again how wires are placed and ensure that each wire is connected to the right terminal.
3. Wi-Fi connectivity Problem
If you face issues with Wi-Fi connectivity like many homeowners, then move the router closer to the device or restart both devices before reconnecting them again.
If you want to hook up your Google Nest thermostat easily, then you need to have patience and attach the wires carefully in the right terminal. Once you have done this, you can enjoy the desirable temperature that you want in your home without any complications.
It is also necessary that you follow the instructions carefully and follow them one by one to avoid making any mistakes; after that, you can see that your thermostat will start running smoothly.
Yes, you can install a Nest thermostat yourselves. However, you need to follow the setup instructions carefully.
In most of the cases, installation of a Nest thermostat usually takes around 30 to 60 minutes.
If the wiring doesn’t match the instructions, then it is advised to contact a professional so that you can avoid damaging your HVAC system.
test
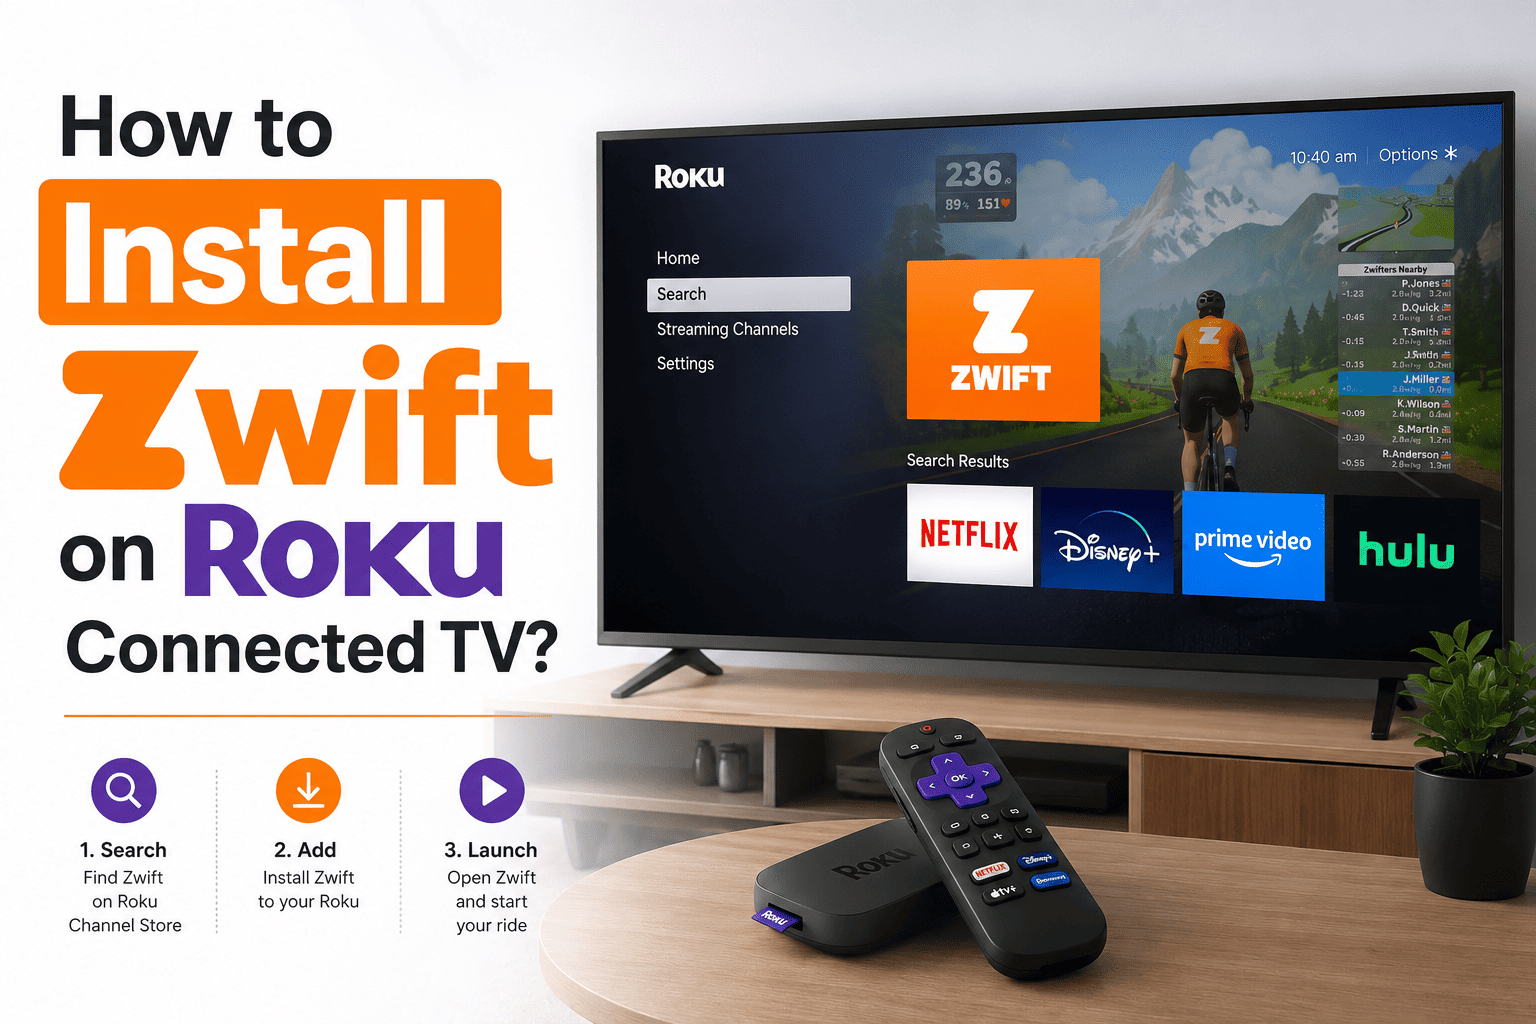
The best way to use Zwift on Roku TV includes using an HDMI cable from your laptop, as this can provide you with a smooth performance.
Yes, most of the Roku devices support the screen mirroring option and AirPlay.
If Zwift is lagging on your TV, the possible reason can be weak Wi-Fi or poor network connectivity. This can cause the screen to load with delay or buffer.
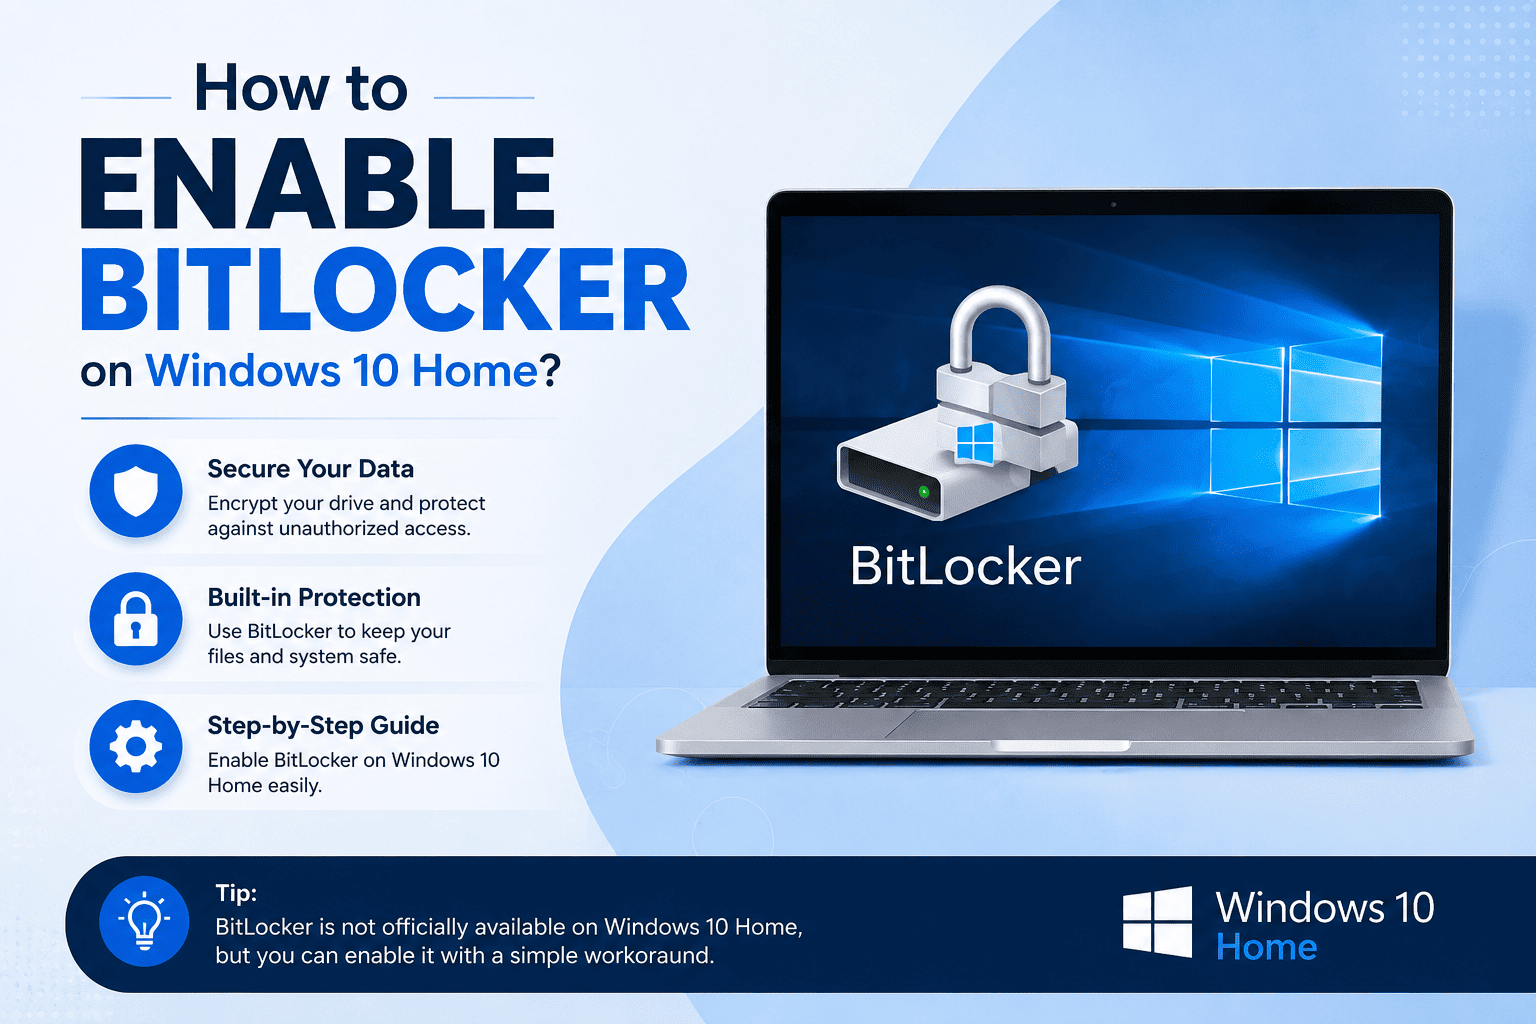
No, you cannot use BitLocker on Windows 10 Home; however, you can use another lighter feature known as Device Encryption.
To enable encryption on Windows 10 Home, you need to go to Settings, then Update & Security, and then Device Encryption and tap on Turn It On.
Yes, device encryption is generally safe to use, as it protects your personal files and improves the overall security of your system.
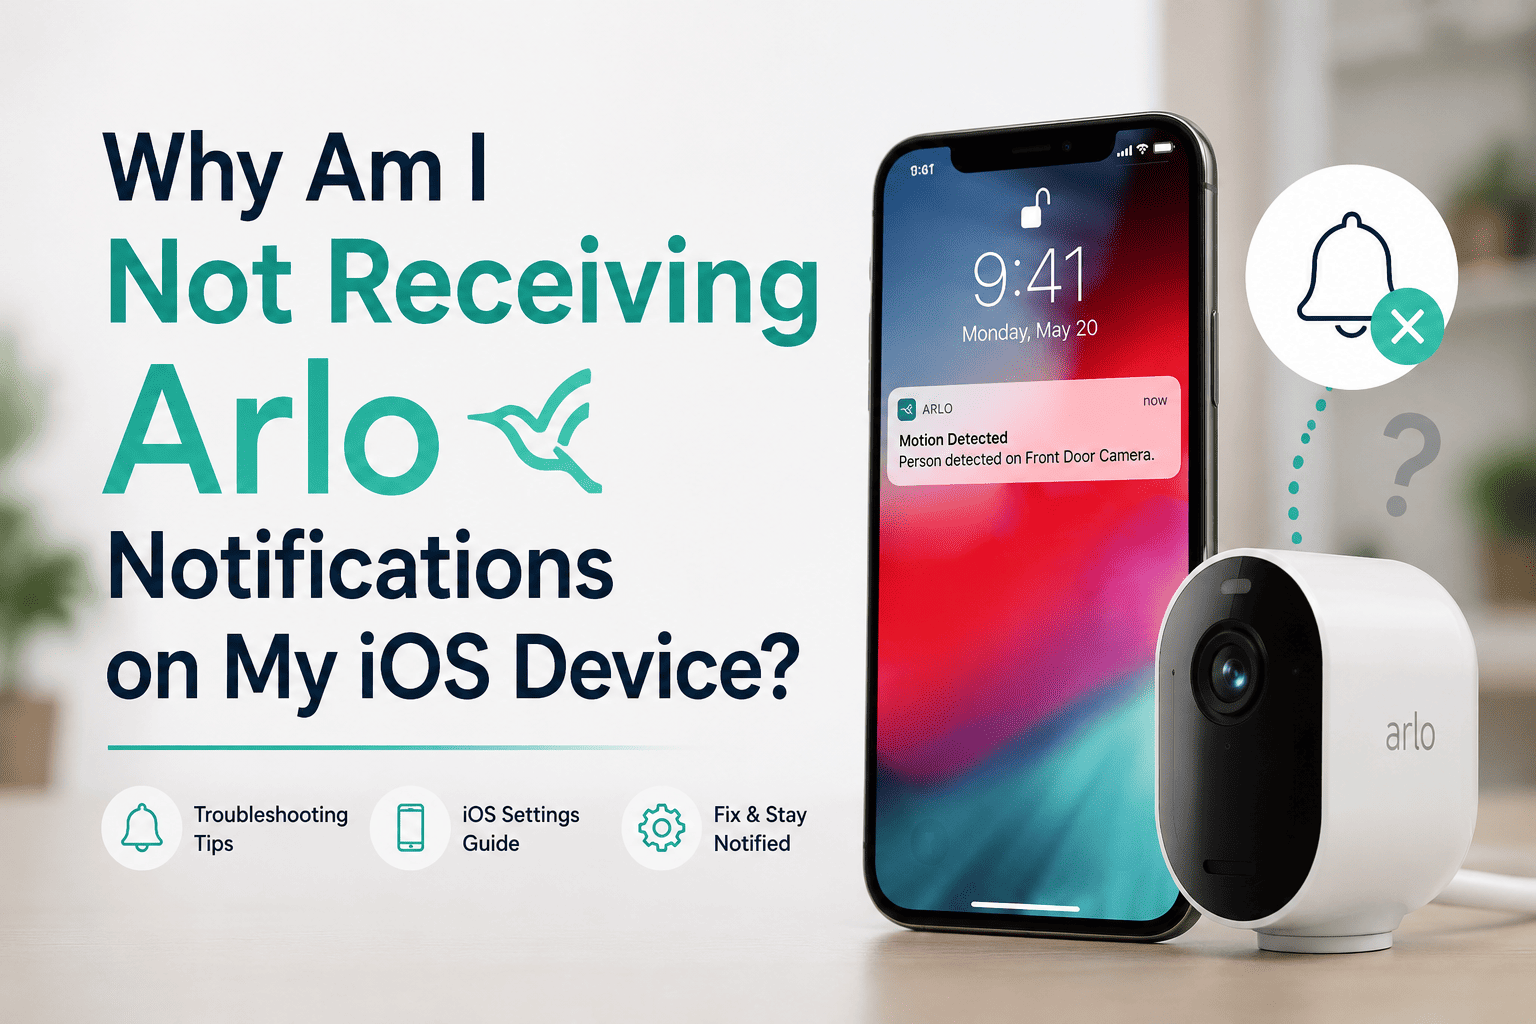
If Arlo notifications are not showing up on your iPhone, it can happen that the notification permissions are turned off, focus mode is turned off, or some incorrect app settings are present.
Yes, many users don’t realise this, but using focus mode or Do Not Disturb mode can block alerts from Arlo and can silence notifications on your device.
Yes, reinstalling the Arlo app can fix notification issues and resolve bugs, other syncing problems, corrupted settings, and more that might prevent alerts.